Use this to: Get familiar with the platform and learn more about using it to its fullest.
You’ll need: A Google account, and knowledge of Google analytics metrics and dimensions.
If you’re just getting started Google also has free courses and tons of documentation about using Google Analytics.
Good to know: This set is for an eCommerce site, so it’s good to understand that different types of websites will have different onsite goals and measurements.
Trying to apply e-commerce principles to a B2B website for a company
with with a long sales cycle is not realistic and tends to lead to more short-term focused strategies.
How to find it: Search “Google Analytics Demo Account” Should be the first result, or click the header above.
Use this to: Practice advanced data analysis on a robust dataset.
This data set is great to use because since it’s included in a Google course you can not only find a guide to help, you can also search for other people’s work after you’re done, and compare notes.
The challenge of the project is to make marketing recommendations from user data.
You’ll need: Beginner-intermediate knowledge of SQL, R, or Python to work on this one.
You will also need data visualization skills and familiarity with Tableau Public or another easily accessible data viz platform.
Good to know: If you’re a beginner at marketing and/or data analysis, you may want to take the full course.
If you’re familiar with analyzing marketing data and you’ve presented recommendations before, you can probably skip a lot of the course, but it’s good to get a full-picture view.
Please forgive me for the buzz-phrase in the headline, but level with me here. Side hustle culture doesn’t have to be written off as not for everyone, or toxic. It’s absolutely okay to consider anything you want your side hustle. Let’s shift the narrative in 2021 to anything that makes you a happier person.
Side Hustles Have to Make Money Now
Let’s face it, a lot of people get an extra job and call it a side hustle. It only makes them an employee for someone else. Some side hustles are more flexible than others. There are plenty of things you can start right now that will make you absolutely zero money, but might make you a better person. Invest in your own happiness and you just might accidentally stumble into some money in the future.
Side Hustles Go Until 2:00 a.m.
Look I’ve never been a night owl. It just doesn’t look great on me the next day. Some people may have 7 extra hours a day they’re looking to fill and some might struggle to find 20 minutes. What good does it do to measure your success by time spent anyway? We’ve all known that person who got to work early, left late and had nothing to show for it. You don’t have to burn the midnight oil to make something great happen.
Side Hustles Should Grow Quickly
Slow is fast. What can you do to improve whatever you’re working on by .1% per day. No one loses 100 pounds in a day. What you are now is a direct result of your habits your whole life. Think of your side hustle as a habit you’re investing time into to return a better you.
Side Hustles Are Not for Me
Whether you think about it or not, you do something with your “free” time. Maybe your side hustle right now is part Netflix, part YouTube. Great! You can keep doing those things (no reason to judge yourself.) Or instead of watching cooking shows you can do a little more cooking. Instead of watching videos you can try making your own. You don’t have to keep either up if you don’t want. It’s good to have a reminder that whether you like it or not, you’re spending your time doing something, and that something will gradually become a part of you.
Again, side hustles don’t have to be money-making or draining. (See above.) They can eventually bring you freedom instead of taking it away.
In March when the outside world around us began rapidly shutting down, we shuttered inside our homes and waited. Surely this wouldn’t take long. Surely it wouldn’t take a vaccine to return to normal, whatever that is. I had a vacation planned for July, and for months, that was my hope. If things could just be safe then, we could take our trip and be ourselves again. July came and went. And still, here we are.
Work in our home was not new. I have been working at home for most of the past 3 years since I left the military. Luckily, we had chosen our house and set it up on the idea that I worked from home. My children’s learning came home too. (Notice I said learning, not school. Yet.) Workouts came home in the form of Zoom calls. More dirty dishes came home, more trash, more anxiety, sometimes more tears, more worry, more fears, more laughs, and okay, sometimes more booze. Slowly the outside world and what we used to do invaded home, often through screens, speakers, and information from our devices.
At the same time, we abandoned some things. We stopped dressing up. No more high heels. And sometimes our sanity. The whole family both consciously and unconsciously added and deleted what we needed to get through. This continued through summer as families started asking the question, “what about school?”
Luckily our local school district was quick and decisive. Distance learning would start on the scheduled first day, and continue until at least February. The schools would reevaluate this in the winter. I welcomed this, as it left no decisions on our shoulders. Or so we thought.
As school started, we had high hopes. Especially for children who suffer in the traditional classroom. The home learning environment would afford kids the chance to get their wiggles out while learning in a safe space. But that’s not what happened.
Kids have found themselves trapped in a dimension between school and home. Toys they could see or knew were near begged to be played with. They weren’t allowed to fidget or have something in their hand. They couldn’t eat if they were hungry during class. I get it, these things make sense. But they’re harder to enforce and impress upon kids when they’re in the comfort of home. (Not to mention the fact that adults aren’t held to these same restrictions when working at home.)
By the end of the second week, I was asking friends about homeschooling. And to my surprise, many were already doing it, having pulled their kids from virtual classrooms within weeks of the school year starting. After some research, we decided to homeschool as well.
I thought this decision was born out of flexibility. The kids could play during the day and learn in the evening and on weekends when we were in a pinch. It was a logical choice. But letting school into our home was the straw that broke the camel’s back. Inviting a live camera and microphone. Frustrated teachers and unfocused children could be heard when ears were getting a rest from headphones. It was too much.
So as you begin to feel overwhelmed and wondering when this will end, be patient with yourself. Letting so much into your home is draining. Be aware of what has inched is way into your walls. Take notice, and then let go of what you can for now.
Free marketing certifications can be a good way to start learning the skills you need to work at home in digital marketing. There are a lot of options out there, and you don’t have to spend a dime!
What to Consider Before You Jump In
These are free, right? So why would you think too hard about jumping in? A lot of these certifications are platform-specific. You’ll want to make sure that earning these certifications will actually help you land clients or get a job and earn money. Think about it – nothing in life is free, especially your time. Do a little research before you get started to make sure the certifications are actually in demand. You also may want to consider whether or not you’ll be able to put into practice what you’ve learned in a real environment until you score a paying gig.
HubSpot Academy
HubSpot sells marketing SaaS products and has a variety of free certifications available on its HubSpot Academy page. Experience with HubSpot is currently frequently desired in digital marketing job descriptions. Also, many of the certifications are broad enough that they can be applied to a lot of different platforms.
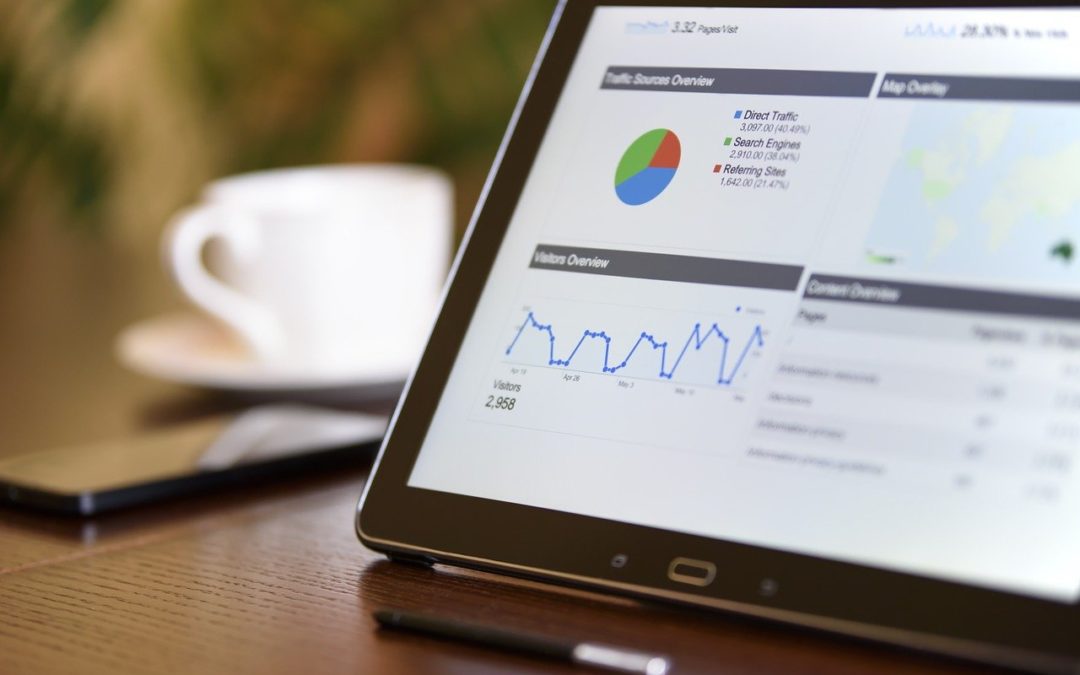
Google Analytics Individual Qualification
The Google Analytics Individual Qualification (GAIQ) can be earned completely free online. Google even offers the courses necessary to learn the exam material at their Google Analytics Academy. If you’re going to have a website at all, this is a good place to get a primer on how to use Google Analytics. It’s also a basic requirement for many digital marketing specialist positions.
If you’re not super into numbers or don’t plan on working with websites much, Google Digital Garage may be a better place for you to start. Bonus: You can also find courses here focused on soft skills like networking. Since Google’s not going away any time soon, these are fantastic certifications to earn.
Alison Diploma in E-business
This Alison certification is fantastic for anyone who’s going into business for themselves. You will walk away with a marketing plan and learn more about copywriting and keywords. This site also has a plethora of other courses that can help get you on the road to better conversion rates.
Do you need free marketing certifications?
Maybe, maybe not. There are a ton of other free learning options out there that can help jumpstart your digital career. It may come down to how you learn (structured modules vs. random YouTube videos.) At this time, I personally have none of these free marketing certifications, but I’ve used other resources on these sites to learn how to do what I need to do. Then again, I also have a graduate degree that included courses on digital media, information architecture, and web design. Only you will know what’s best, but these are all solid choices if you’re looking to learn a lot and gain credibility.
Hope this helped you! If it did, will you please spread the word to someone else?
2024 Update: This post was written before the pandemic, but the basic principle is still valid today. You can make money from home in a lot of different ways.
This has become a very popular subject and there are currently a lot of social media influencers dedicated to promoting “get rich online” schemes.
This. Is. Not. That.
None of these made me “rich.” All of these helped me make money while I was learning something new, and that’s where the value is.
I want to call out Textbroker in particular in this update because the rise of AI seems to have cleared out opportunity on that platform. Although you may see influencers claim otherwise, it is no longer a way to make money online as I’ve heard they’ve stopped accepting authors and as of yesterday there were no assignments available.
I’ve decided to leave the post unchanged so that you can see the steps I took to get a start in digital marketing. My first two steady gigs came from Flexjobs and it really helped me get started.
Enjoy!
Make money from home! That’s the dream, right? A work at home job means you have no commute and may or may not have to wear pants. It’s easy to skeptical, though, when there are so many scams are out there. Here I’m going to share the work at home job websites that WORKED for me! (As in I got a legit paying gig.)
This one’s best for skilled writers, and it’s also good for people looking to break into copywriting and search engine optimization (SEO.) You created an account and then take a test to be given an author rating. The highest is 5, but a 3 or 4 will get you options for plenty of work. The pay isn’t very high, but you can add a chunk of change to your income if you get organized about choosing assignments and don’t need to spend much time re-writing. You’ll get feedback from clients and from the folks at Textbroker. This site is different from other sites like Upwork in that you choose the assignments on your own, you don’t have to compete for them.
A lot of people are skeptical of Flexjobs from the get-go because they do charge you to have full access to job listings. What you get is access to jobs that they have pre-vetted for you. I’ve made a lot of money on steady work from this site, and it’s also good to start giving you an idea of which companies hire remotely so that you can search their job listings on your own. Look out for occasional discount codes for Flexjobs and it’s an even better deal!
Instant Teams
Instant Teams was launched to help military spouses and veterans find remote positions since they are often on the move. Set up a profile on the site, and you will be contacted when they have an assignment for you to check out. You get paid through them and they have a fantastic Slack workspace that you’ll join. They’re really there to support you all the way with virtual activities and you can meet some great people.
Find your work at home job!
The great thing about all of these websites is they can set you on the path to more flexible work. A lot of traditional workplaces are willing to allow work at home days. You can take the skills that you land from your remote opportunities and work for just about anyone, anywhere. There are a lot of other sites out there that are legitimate and could be life-changing, but I hope by sharing the ones that actually got me some $$$ might be most helpful. What else has been useful for you?


Recent Comments